Homemade Lemon Bars
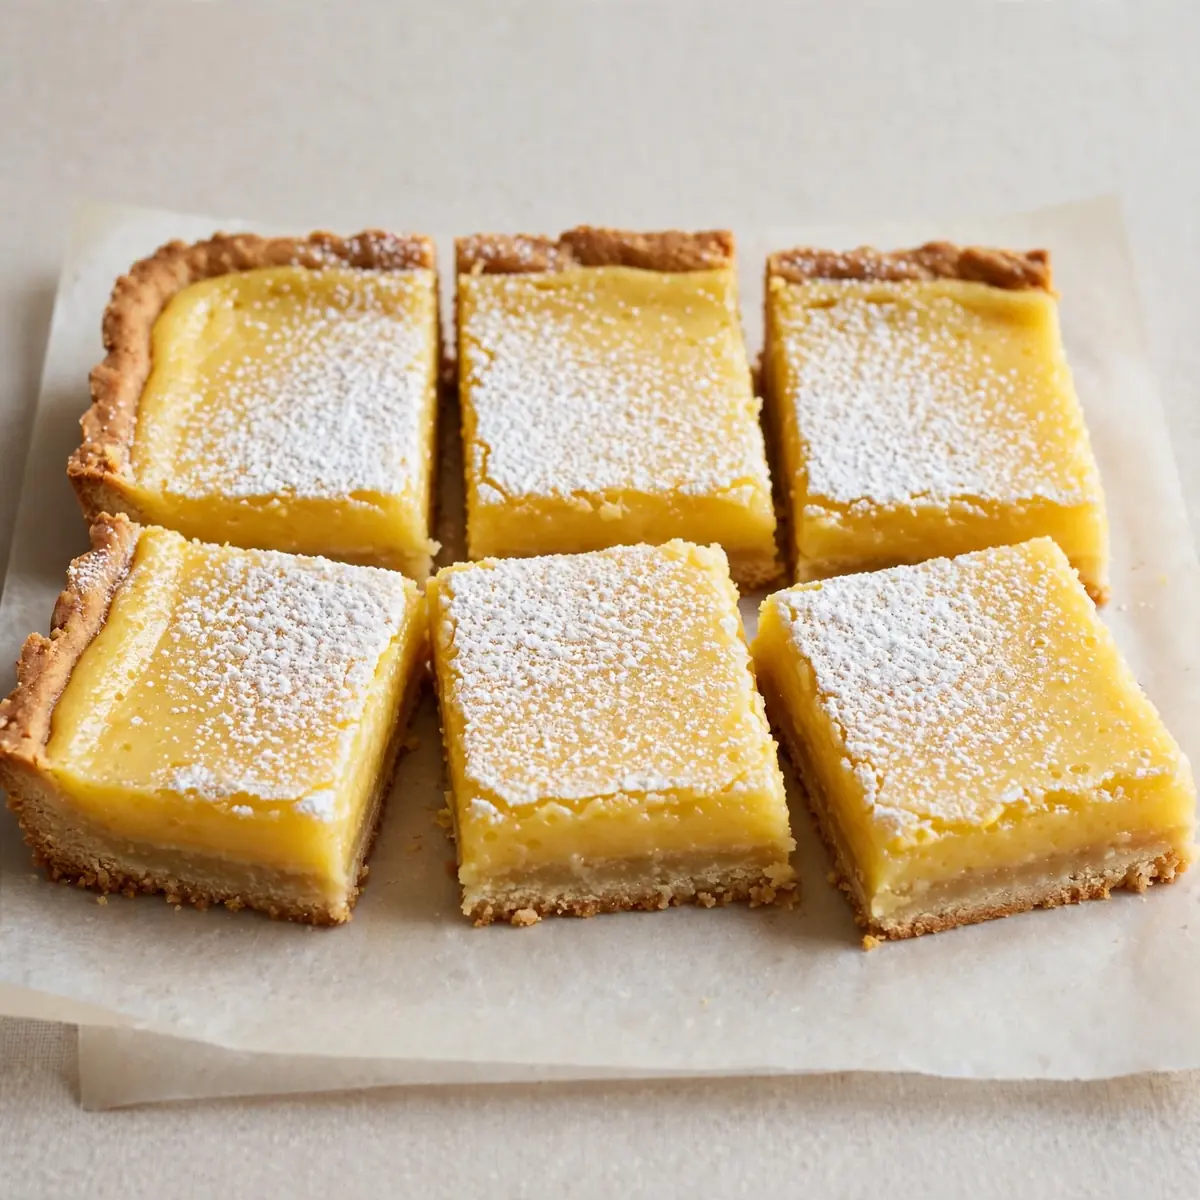
After years of tweaking, I’ve finally landed on a Homemade Lemon Bars recipe that is as kind to my wallet as it is to my sweet tooth. Friends always ask me for this recipe after trying it at dinner parties, and the secret is that it’s designed for batch cooking, using simple, affordable ingredients you likely already have in the cupboard. This isn’t just a dessert; it’s a strategic, budget-friendly meal-prep staple that delivers tangy, buttery bliss for pennies per serving.
Recipe Overview
- Prep Time: 20 minutes
- Cook Time: 40 minutes
- Total Time: 1 hour (plus 2 hours chilling)
- Servings: 16 generous squares
- Difficulty: Easy
Why You’ll Love This Homemade Lemon Bars
- Budget-Friendly Batch: Using basic pantry staples like flour, sugar, and eggs, the cost per serving is remarkably low, making this an ideal dessert for feeding a crowd or stocking your freezer without breaking the bank.
- Perfect for Meal Prep: These bars store beautifully in the fridge for up to a week and freeze like a dream, giving you a ready-to-eat sweet treat whenever a craving strikes.
- Foolproof Shortbread Base: The crust is a simple press-in dough that bakes to a sandy, buttery perfection without any rolling or chilling beforehand, saving you time and effort.
- Bright, Balanced Flavour: The filling achieves the perfect harmony of tart and sweet, using fresh lemon juice and zest for a vibrant, natural citrus punch that never feels cloying.
- Customisable for Any Occasion: This base recipe is a fantastic starting point; you can easily adjust the sweetness or add a hint of vanilla or lavender for a unique twist, or serve it alongside Spicy Grilled Chicken Wings or Crispy Chicken Tenders With Honey Mustard for a sweet-and-spicy combo.online/spicy-grilled-chicken-wings/”>Spicy Grilled Chicken Wings for a sweet-and-spicy combo.
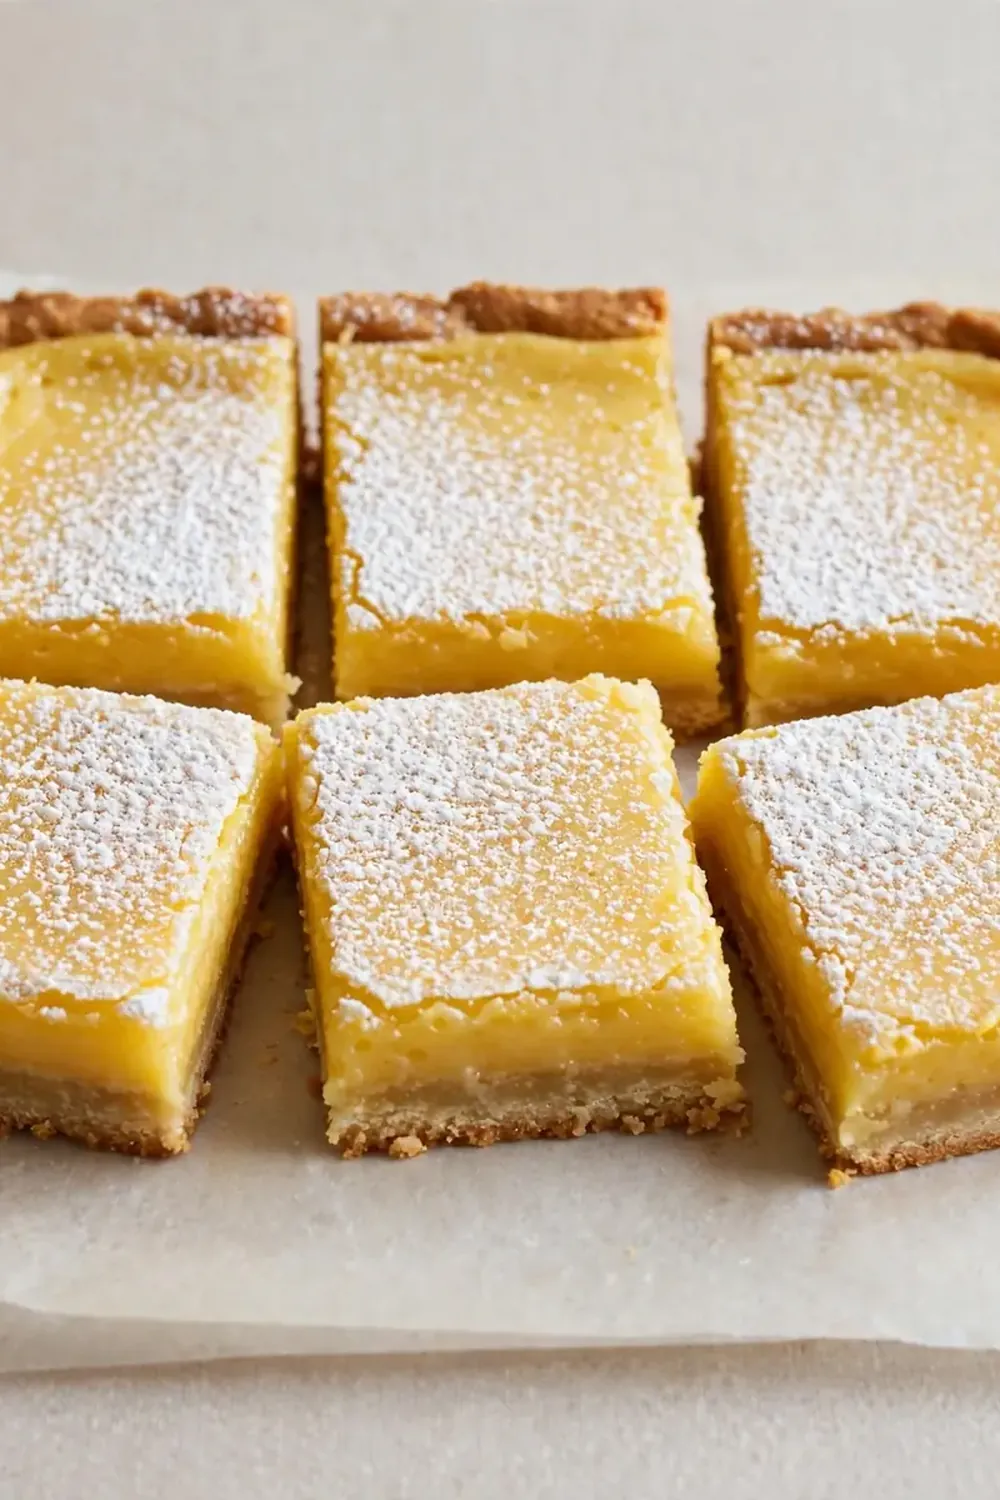
Ingredients You’ll Need
- For the Shortbread Crust:
- 200g unsalted butter, softened to room temperature
- 100g caster sugar
- 250g plain flour
- ¼ teaspoon salt
- For the Lemon Filling:
- 4 large eggs
- 300g granulated sugar
- 60g plain flour
- 180ml freshly squeezed lemon juice (from about 4-5 lemons)
- Zest of 3 lemons
- A pinch of salt
- For Dusting (optional but recommended):
- Icing sugar, for finishing
Tip: For the brightest flavour, always use fresh lemons. Bottled lemon juice can taste flat and will not give you the same vibrant, zesty kick that makes these bars so special. I make this at least once a week – it’s become a family favourite, and using fresh citrus makes all the difference.
How to Make Homemade Lemon Bars
- Prepare the Oven and Pan: Preheat your oven to 180°C (160°C fan). Line a 20x20cm square baking tin with parchment paper, leaving an overhang on two opposite sides. This will act as your handles to lift the bars out later. The paper should feel snug against the sides of the tin.
- Make the Shortbread Crust: In a medium bowl, cream the softened butter and caster sugar together with a wooden spoon until pale and fluffy. The mixture should look light and feel smooth, not grainy. Add the flour and salt, and mix until a soft, cohesive dough forms. It will be slightly crumbly but should hold together when pressed.
- Press and Bake the Crust: Transfer the dough into your prepared tin. Press it evenly into the bottom using your fingertips or the flat bottom of a glass. The surface should be flat and compact, with no visible cracks. Bake for 18-20 minutes, or until the edges are just turning a pale, golden brown. The centre will still feel slightly soft but will firm up as it cools. You should smell a rich, buttery aroma.
- Whisk the Lemon Filling: While the crust bakes, make the filling. In a large bowl, whisk the eggs and granulated sugar together until well combined and slightly thickened, about 1 minute. The mixture should look pale and feel smooth. Whisk in the flour, salt, lemon juice, and lemon zest until completely smooth. The batter will be thin and smell intensely of fresh lemons.
- Pour and Bake the Bars: Pour the lemon filling over the warm, pre-baked crust. The warm crust helps the filling set evenly. Bake for 20-25 minutes. The filling should be set around the edges but still have a slight jiggle in the very centre when you gently shake the pan. The top will look matte, not wet or shiny, and the surface will feel firm to a light touch. A faint, glossy sheen is a sign it is done.
- Cool and Chill Completely: Allow the bars to cool to room temperature in the tin on a wire rack. Once cool, transfer the tin to the refrigerator and chill for at least 2 hours, or up to overnight. This step is crucial for clean, neat slices. The bars should feel completely cold and solid to the touch.
- Slice and Serve: Using the parchment overhang, lift the entire block of lemon bars out of the tin and onto a cutting board. Using a sharp, non-serrated knife, slice into 16 squares. For the cleanest cuts, wipe the knife blade clean between each slice. Dust generously with icing sugar just before serving.
Tips From My Kitchen
- Why We Chill the Dough Crust: While you do not need to chill the dough before baking, pressing it into the tin with cold fingertips helps prevent the butter from melting prematurely. This ensures a tender, sandy shortbread crust rather than a greasy one. The cold butter creates steam pockets in the oven, giving you that perfect crumbly texture.
- Use Room Temperature Eggs: Cold eggs can cause the filling to seize or become lumpy, resulting in a less smooth texture. Let your eggs sit on the counter for 15-20 minutes before whisking. This allows the sugar to dissolve more easily and creates a homogenous, silky filling that bakes evenly. If you are in a hurry, place the eggs in a bowl of warm water for 5 minutes.
- Don’t Over-Bake the Filling: The biggest mistake is over-baking, which leads to a rubbery, curdled texture. The filling should be just set; a slight jiggle in the centre is your cue to take it out. The residual heat will finish the cooking process as it cools. The top should be matte, not glossy or cracked. If you see cracks, the bars are overdone.
- Chill for Clean Slices: This is non-negotiable for a professional-looking result. Chilling firms up the filling and the butter in the crust, allowing the knife to glide through cleanly without dragging or crumbling. I always chill for a minimum of 2 hours, but overnight is even better. For absolute perfection, you can pop them in the freezer for 30 minutes before slicing.
- Scale for Meal Prep: This recipe doubles beautifully. For a larger batch, use a 23x33cm tin and increase the baking time for the crust by 5 minutes and the filling by 8-10 minutes. Watch for the same visual cues – a matte surface and a slight jiggle in the centre. You can then freeze the entire block or individual slices for up to 3 months.
Equipment You’ll Need
- 20x20cm square baking tin
- Parchment paper
- Mixing bowls (medium and large)
- Wooden spoon or sturdy spatula
- Sharp knife and cutting board
- Citrus juicer or reamer
- Fine-mesh sieve (for dusting icing sugar)
- Wire cooling rack
What to Serve With Homemade Lemon Bars
- A dollop of thick, natural yoghurt or clotted cream to offset the tartness.
- A simple cup of Earl Grey or chamomile tea for an afternoon treat.
- A handful of fresh raspberries or blueberries for a burst of colour and extra fruit.
- For a more substantial dessert, serve alongside a scoop of vanilla or honeycomb ice cream.
Still hungry for ideas? You might also love No Bake Lemon Blueberry Bars from our sister kitchens.
Frequently Asked Questions
Homemade Lemon Bars
Ingredients
Method
-
Prepare the Oven and Pan: Preheat your oven to 180°C (160°C fan). Line a 20x20cm square baking tin with parchment paper, leaving an overhang on two opposite sides. This will act as your handles to lift the bars out later. The paper should feel snug against the sides of the tin.
-
Make the Shortbread Crust: In a medium bowl, cream the softened butter and caster sugar together with a wooden spoon until pale and fluffy. The mixture should look light and feel smooth, not grainy. Add the flour and salt, and mix until a soft, cohesive dough forms. It will be slightly crumbly but should hold together when pressed.
-
Press and Bake the Crust: Transfer the dough into your prepared tin. Press it evenly into the bottom using your fingertips or the flat bottom of a glass. The surface should be flat and compact, with no visible cracks. Bake for 18-20 minutes, or until the edges are just turning a pale, golden brown. The centre will still feel slightly soft but will firm up as it cools. You should smell a rich, buttery aroma.
-
Whisk the Lemon Filling: While the crust bakes, make the filling. In a large bowl, whisk the eggs and granulated sugar together until well combined and slightly thickened, about 1 minute. The mixture should look pale and feel smooth. Whisk in the flour, salt, lemon juice, and lemon zest until completely smooth. The batter will be thin and smell intensely of fresh lemons.
-
Pour and Bake the Bars: Pour the lemon filling over the warm, pre-baked crust. The warm crust helps the filling set evenly. Bake for 20-25 minutes. The filling should be set around the edges but still have a slight jiggle in the very centre when you gently shake the pan. The top will look matte, not wet or shiny, and the surface will feel firm to a light touch. A faint, glossy sheen is a sign it is done.
-
Cool and Chill Completely: Allow the bars to cool to room temperature in the tin on a wire rack. Once cool, transfer the tin to the refrigerator and chill for at least 2 hours, or up to overnight. This step is crucial for clean, neat slices. The bars should feel completely cold and solid to the touch.
-
Slice and Serve: Using the parchment overhang, lift the entire block of lemon bars out of the tin and onto a cutting board. Using a sharp, non-serrated knife, slice into 16 squares. For the cleanest cuts, wipe the knife blade clean between each slice. Dust generously with icing sugar just before serving.
Notes
I hope this guide helps you make a batch of wonderfully tangy, budget-friendly Homemade Lemon Bars that become a staple in your meal-prep rotation. I would love to hear how they turn out for you – do you have any favourite twists or serving suggestions? Drop a comment below and share your experience!