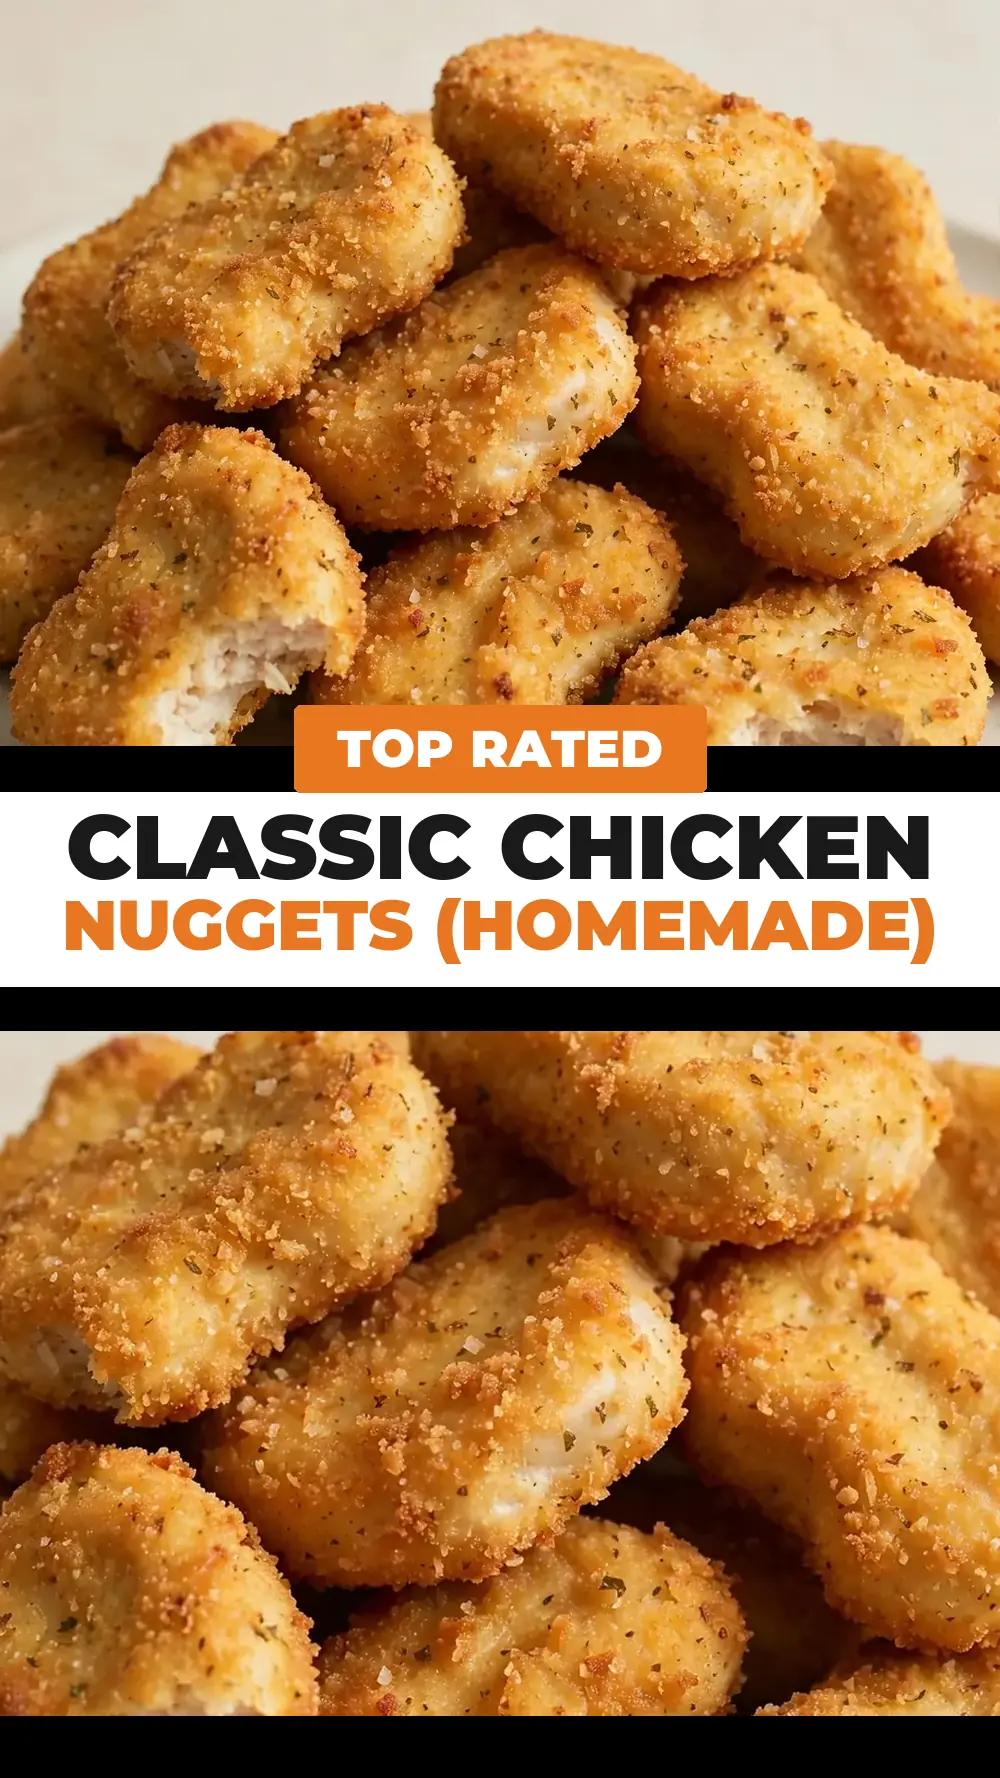
Classic Chicken Nuggets (Homemade)
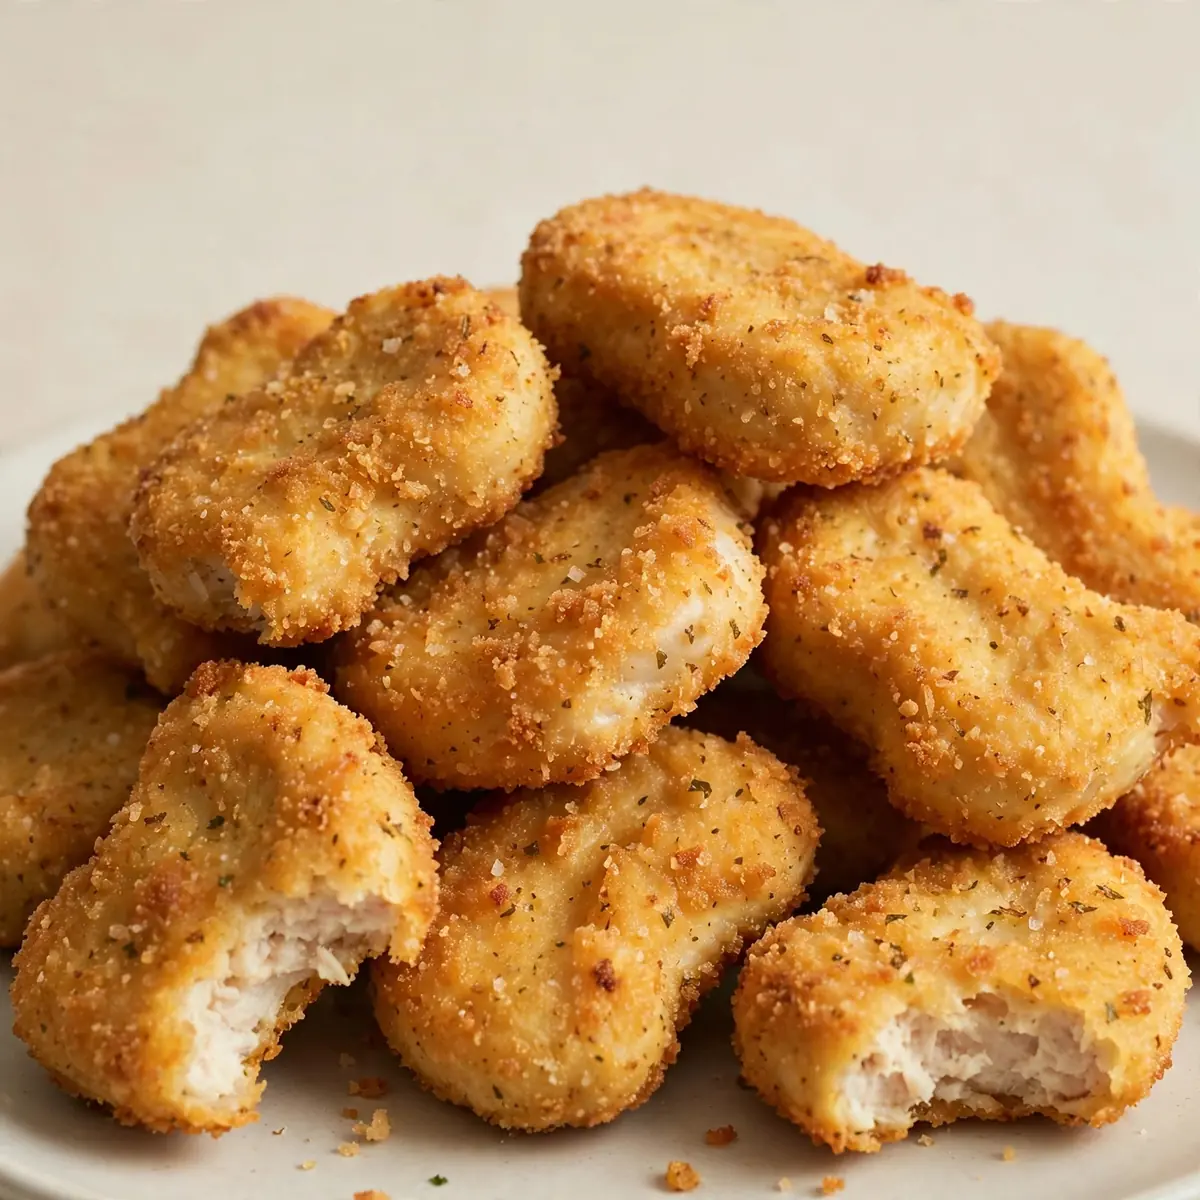
Last month, I sat down with my weekly grocery receipt, a cup of tea, and a mission to slash our household food budget without sacrificing flavour. That’s when I realised that our family’s favourite treat – homemade chicken nuggets – could be the cornerstone of a serious meal-prep strategy. This recipe isn’t just about dinner tonight; it’s about filling your freezer with golden, crunchy pieces of chicken that cost pennies compared to the shop-bought versions and taste infinitely better.
Recipe Overview
- Prep Time: 25 minutes
- Cook Time: 12 minutes (per batch)
- Total Time: 45 minutes (plus optional 30-minute resting time)
- Servings: 6 servings (approximately 30 nuggets)
- Difficulty: Easy
Why You’ll Love This Classic Chicken Nuggets (Homemade)
- Budget-Friendly: At roughly £1.20 per serving, this recipe costs a fraction of takeaway or frozen options. I use boneless, skinless chicken thighs, which are more forgiving and cheaper than breasts, keeping the cost per serving remarkably low.
- Perfect for Batch Cooking: You can easily double or triple this recipe. I spend one hour on a Sunday afternoon, and we have nuggets for three separate meals during the week, plus lunchbox options.
- Freezes Like a Dream: These nuggets freeze raw or cooked, and they reheat to that same satisfying crunch. No more soggy, sad leftovers – just a quick blast in the oven or air fryer brings them back to life.
- Customisable Crumb: The coating is a blank canvas. I stumbled upon this combination of panko and finely grated Parmesan by accident, and it’s been a hit ever since. You can adjust the seasoning to suit your family’s palate.
- Kid-Approved, Adult-Friendly: While children adore the familiar shape and crunch, adults appreciate the quality of the meat and the absence of fillers and preservatives. This is my go-to recipe when I need something quick but impressive for a casual gathering.
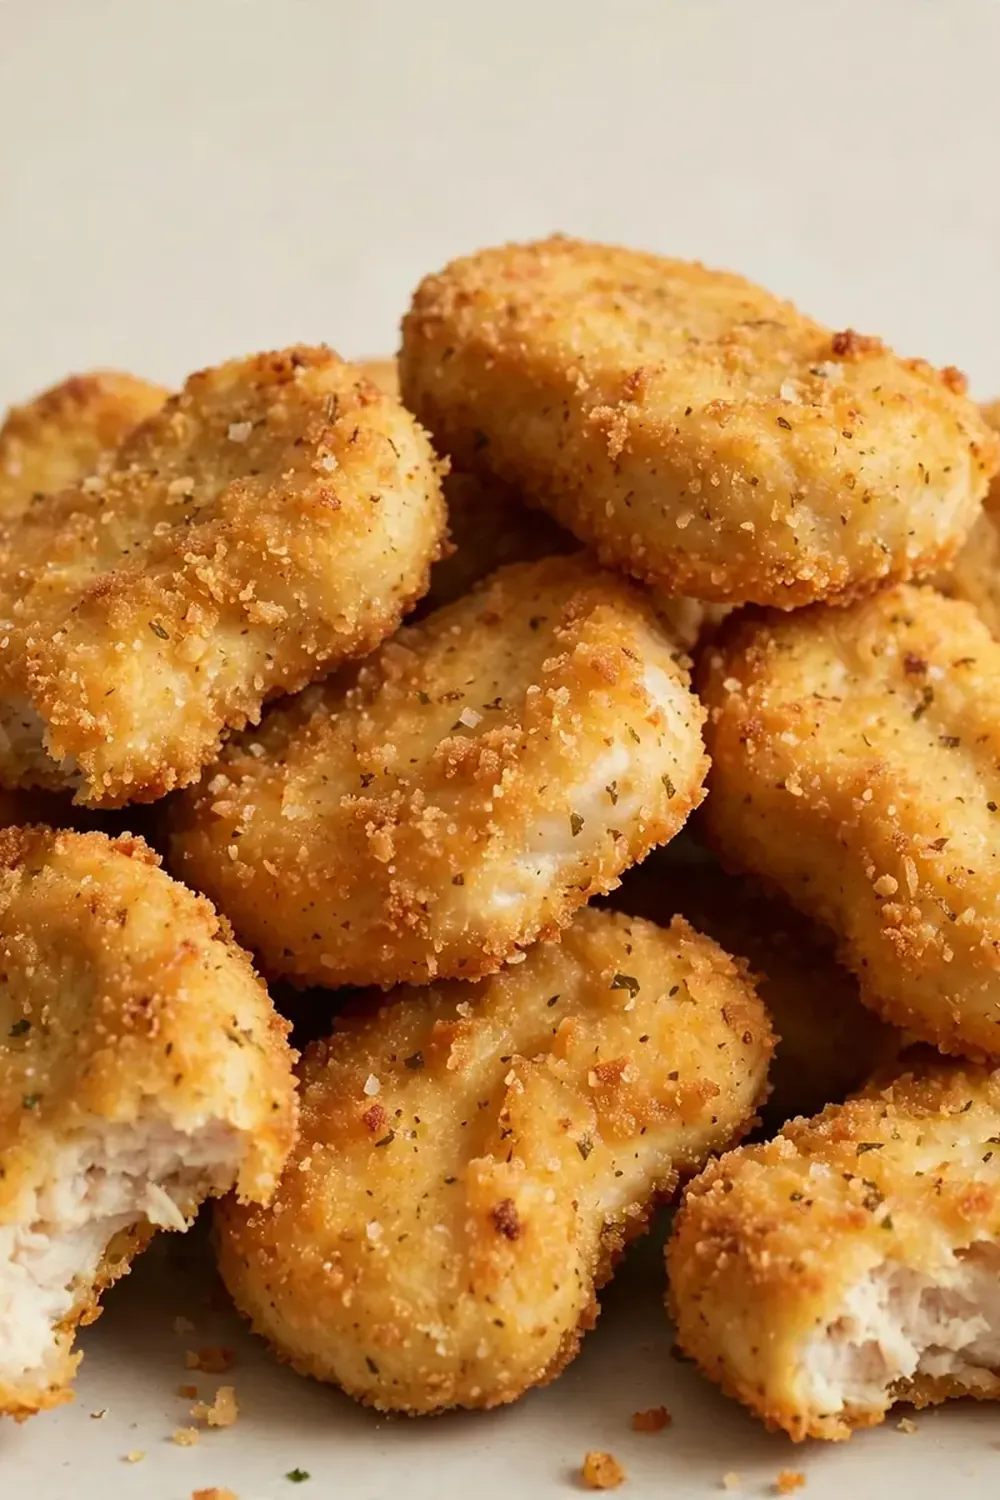
Ingredients You’ll Need
- 600g boneless, skinless chicken thighs (or breasts, see note)
- 100g plain flour (all-purpose)
- 2 large eggs
- 2 tablespoons milk (whole or semi-skimmed)
- 150g panko breadcrumbs
- 40g finely grated Parmesan cheese (optional, but recommended)
- 1 teaspoon garlic powder
- 1 teaspoon onion powder
- 1 teaspoon smoked paprika
- ½ teaspoon fine sea salt
- ½ teaspoon freshly ground black pepper
- Vegetable or sunflower oil, for frying (about 500ml for shallow frying)
Tip: Using chicken thighs yields juicier nuggets that are less prone to drying out during reheating. If you prefer breasts, slice them in half horizontally to create thinner pieces that cook at the same rate as the thighs.
How to Make Classic Chicken Nuggets (Homemade)
- Prep the chicken: Pat the chicken dry with kitchen paper. Cut into bite-sized pieces, roughly 3-4cm each. I aim for uniform shapes so they cook evenly. You should hear a clean, solid sound as the knife cuts through the meat – no tearing or squishing, which indicates a dull blade.
- Set up the breading station: In a shallow bowl, whisk the flour with half the salt and half the pepper. In a second bowl, beat the eggs with the milk until the mixture is a uniform pale yellow and slightly frothy, with no visible streaks of egg white. In a third bowl, combine the panko, Parmesan, garlic powder, onion powder, smoked paprika, and the remaining salt and pepper. The breadcrumb mixture should look like a speckled, golden sand.
- Coat the chicken: Working one piece at a time, dredge the chicken in the flour, shaking off any excess. You want a thin, dusty coating – if it looks thick and pasty, tap it off. Dip it into the egg wash, letting any excess drip back into the bowl for about 5 seconds. Finally, press it firmly into the panko mixture, ensuring every surface is covered. The nugget should feel rough and textured to the touch.
- Rest the nuggets (crucial step): Place the coated nuggets on a wire rack set over a baking tray. Let them rest at room temperature for 20-30 minutes. You’ll notice the coating becoming slightly matte and adhering more firmly to the chicken. This step prevents the breading from falling off during frying.
- Heat the oil: Pour oil into a heavy-bottomed pan or deep skillet to a depth of about 1.5cm. Heat over a medium-high flame until it reaches 175°C (350°F). If you don’t have a thermometer, drop a breadcrumb into the oil; it should sizzle immediately and float to the surface, turning golden brown within 30 seconds.
- Fry in batches: Carefully lower 5-6 nuggets into the hot oil, ensuring they aren’t touching. Fry for 3-4 minutes per side, until the coating is a deep, even golden brown and the chicken is cooked through. You should hear a steady, gentle sizzle – if it’s roaring, the oil is too hot. The nuggets will feel firm to the touch when done.
- Drain and rest: Transfer the cooked nuggets to a wire rack (not paper towels, which trap steam and make them soggy). Let them rest for 3 minutes before serving. The sound of the nuggets hitting the rack should be a crisp, dry tap, not a wet thud.
Tips From My Kitchen
- Dry chicken is non-negotiable: Patting the chicken dry is the single most important step. Any moisture on the surface creates steam during frying, which forces the breading to separate from the meat. I use three sheets of kitchen paper and press firmly. The paper should come away mostly dry.
- Use a wire rack, not paper towels: After frying, paper towels create a steam bath that turns the crispy coating into a damp sponge. A wire rack allows air to circulate around the entire nugget, keeping every side crunchy. I rest mine on a rack over a baking tray even when cooling for the freezer.
- Don’t skip the rest time: That 20-30 minute rest after breading is not a suggestion; it’s the glue. The flour absorbs moisture from the egg wash, creating a tacky layer that the breadcrumbs cling to. If you fry immediately, you’ll end up with a pan full of loose breadcrumbs and bare chicken.
- Maintain oil temperature religiously: Between batches, let the oil return to 175°C. If the temperature drops too low, the nuggets absorb oil and become greasy. If it’s too high, the outside burns before the inside cooks. I keep a thermometer clipped to the pan and adjust the heat after every batch.
- Season in layers: Don’t rely on the breadcrumb mixture for all the flavour. Season the flour as well, and consider adding a pinch of salt directly to the chicken pieces before breading. This ensures every bite, from the crispy shell to the tender centre, is properly seasoned.
Common Mistakes to Avoid
- Overcrowding the pan: Adding too many nuggets at once lowers the oil temperature dramatically, resulting in greasy, soggy coating. The nuggets need space to swim in the oil. Fry in small batches of 5-6, leaving at least 2cm between each piece. You should be able to see the oil bubbling around each nugget individually.
- Wrong temperature: The ideal frying temperature is a steady 175°C (350°F). Below this, the nuggets absorb oil like sponges. Above 190°C (375°F), the coating burns before the chicken cooks through. If you don’t have a thermometer, use the breadcrumb test: a crumb should bubble and turn golden in about 30-40 seconds.
- Skipping the rest time: I made this mistake on my first attempt, and the breading slid off in the pan like a loose coat. Resting allows the gluten in the flour to relax and the starch to hydrate, creating a bond that holds the coating on during frying. It’s a simple, passive step that makes all the difference.
Delicious Variations to Try
- Spicy Version: Add 1 teaspoon of cayenne pepper and ½ teaspoon of chilli flakes to the breadcrumb mixture. For extra heat, mix 1 tablespoon of hot sauce (ensure it’s alcohol-free, such as a fermented pepper sauce) into the beaten eggs. The nuggets will have a warm, lingering heat that builds with each bite.
- Vegetarian/Vegan Option: Substitute the chicken with firm tofu, pressed for 30 minutes to remove excess water, or with large cauliflower florets steamed for 4 minutes until just tender. Replace the eggs with a mixture of 3 tablespoons of plain flour and 4 tablespoons of water (or aquafaba for a lighter coating). The cooking time reduces to about 2-3 minutes per side.
- Different Protein: Turkey breast or lean pork loin (ensure it’s halal-certified pork) work beautifully with this recipe. Slice the protein into similar-sized pieces and follow the same breading and frying process. Turkey will cook slightly faster, so check for doneness after 2 minutes per side.
What to Serve With Classic Chicken Nuggets (Homemade)
- Homemade honey mustard sauce (equal parts honey and Dijon mustard, plus a splash of lemon juice)
- Simple sweet potato wedges roasted at 200°C (400°F) for 25 minutes
- A crisp coleslaw made with shredded cabbage, carrot, and a yoghurt-based dressing
- Steamed green beans or a garden salad with a light vinaigrette to cut through the richness
- Dipping sauces like barbecue sauce, ranch dressing, or a simple tomato ketchup
Still hungry for ideas? You might also love Crispy Homemade Chicken Nuggets Recipe from our sister kitchens.
Frequently Asked Questions
Classic Chicken Nuggets (Homemade)
Ingredients
Method
-
Prep the chicken: Pat the chicken dry with kitchen paper. Cut into bite-sized pieces, roughly 3-4cm each. I aim for uniform shapes so they cook evenly. You should hear a clean, solid sound as the knife cuts through the meat – no tearing or squishing, which indicates a dull blade.
-
Set up the breading station: In a shallow bowl, whisk the flour with half the salt and half the pepper. In a second bowl, beat the eggs with the milk until the mixture is a uniform pale yellow and slightly frothy, with no visible streaks of egg white. In a third bowl, combine the panko, Parmesan, garlic powder, onion powder, smoked paprika, and the remaining salt and pepper. The breadcrumb mixture should look like a speckled, golden sand.
-
Coat the chicken: Working one piece at a time, dredge the chicken in the flour, shaking off any excess. You want a thin, dusty coating – if it looks thick and pasty, tap it off. Dip it into the egg wash, letting any excess drip back into the bowl for about 5 seconds. Finally, press it firmly into the panko mixture, ensuring every surface is covered. The nugget should feel rough and textured to the touch.
-
Rest the nuggets (crucial step): Place the coated nuggets on a wire rack set over a baking tray. Let them rest at room temperature for 20-30 minutes. You’ll notice the coating becoming slightly matte and adhering more firmly to the chicken. This step prevents the breading from falling off during frying.
-
Heat the oil: Pour oil into a heavy-bottomed pan or deep skillet to a depth of about 1.5cm. Heat over a medium-high flame until it reaches 175°C (350°F). If you don’t have a thermometer, drop a breadcrumb into the oil; it should sizzle immediately and float to the surface, turning golden brown within 30 seconds.
-
Fry in batches: Carefully lower 5-6 nuggets into the hot oil, ensuring they aren’t touching. Fry for 3-4 minutes per side, until the coating is a deep, even golden brown and the chicken is cooked through. You should hear a steady, gentle sizzle – if it’s roaring, the oil is too hot. The nuggets will feel firm to the touch when done.
-
Drain and rest: Transfer the cooked nuggets to a wire rack (not paper towels, which trap steam and make them soggy). Let them rest for 3 minutes before serving. The sound of the nuggets hitting the rack should be a crisp, dry tap, not a wet thud.
Notes
I hope this recipe becomes a regular part of your meal-prep rotation, just as it has in my kitchen. I’d love to hear how you get on – share your batch-cooking tips, your favourite dipping sauces, or any tweaks you make in the comments below. Happy cooking!